As I sat on my porch one sunny afternoon, sipping a cool drink and watching the neighborhood go by, I couldn’t help but notice the bright green zucchinis peeking out from my garden. My garden, despite its modest size, has become a treasure trove of fresh vegetables ready to inspire creativity in the kitchen. I remembered my recently growing obsession with finding healthier snack alternatives, and how a simple zucchini could transform into something unbelievably crispy and crunchy—a perfect companion for summer picnics or as a guilt-free snack to accompany movie nights at home. This led me to rediscover a favorite recipe for Crispy Zucchini Chips that’s not just simple, but also unbelievably satisfying.
Recipe Timing
- Prep Duration: 15 minutes
- Active Cooking: 1.5 to 2 hours
- Total Duration: 2 hours 15 minutes
- Portion Size: Serves 4
- Complexity: Simple
Nutritional Recipe
- Calories per portion: Approximately 100
- Protein: 3g
- Carbs: 12g
- Fats: 5g
- Fiber: 2g
- Sugars: 2g
- Sodium: 200mg
Why You’ll Love This Crispy Zucchini Chips
These crispy zucchini chips are the perfect testament to the notion that healthy snacking doesn’t have to be boring. They’re light, packed with flavor, and offer both crunch and satisfaction. The best part? They’re incredibly customizable! With a few seasonings, or a sprinkle of parmesan, you can create a snack that’s both indulgent and guilt-free. Plus, they’re a fantastic way to enjoy homegrown produce or fresh veggies from the market, allowing you to soak in those wholesome flavors and colors.
The Complete Cooking Journey
Baking zucchini chips is not just about the end product; it’s about enjoying the process. From the moment you slice the zucchinis to the tantalizing aroma that fills your kitchen as they bake, every step is a sensory delight. And let’s not forget the pure joy of crunching into those perfectly baked slices; it’s a treat for the palate and a vibrant pop of color on any plate.
Ingredients:
- 2 medium zucchinis
- 1 to 2 tablespoons of olive oil or avocado oil
- 1/2 teaspoon of sea salt
- 1/2 teaspoon of garlic powder
- 1/2 teaspoon of smoked paprika (optional)
- 1/4 teaspoon of black pepper
- Grated parmesan (optional)
Method:
Step 1: Preheat the Oven
Preheat your oven to 250 degrees F (120 degrees C). A low temperature ensures the zucchinis dry beautifully, creating a delightful crispiness.
Step 2: Prepare the Zucchini
Wash and dry zucchinis thoroughly. The fresher, the better! Slice into thin rounds, aiming for about 1/8-inch thickness to ensure even baking.
Step 3: Salt and Sweat
Lay the slices on a paper towel, sprinkle lightly with salt, and let them sit for 10 minutes. This step will draw out moisture, allowing for that coveted crunch.
Step 4: Pat and Dry
After 10 minutes, pat the zucchini slices dry with another paper towel to remove excess moisture and salt.
Step 5: Seasoning Toss
In a large bowl, toss zucchini slices with olive oil until well coated. Add in the garlic powder, smoked paprika, black pepper, and optionally, grated parmesan. Embrace your inner chef and mix them well!
Step 6: Arrange and Bake
Line a baking sheet with parchment paper and arrange your zucchini slices in a single layer. It’s important not to overcrowd them, as this allows each chip to become perfectly crispy.
Step 7: Bake to Perfection
Bake for about 1.5 to 2 hours, flipping halfway through to ensure everything cooks evenly. At around 90 minutes, check the zucchini — they should be golden brown and crispy. If they’re still soft, give them a bit more time.
Step 8: Cool and Store
Once done, remove from the oven and let the chips cool for 5 minutes. They’ll continue to crisp up as they cool. Store any leftovers in an airtight container for up to 3 days.
Serving Suggestions & Pairings
These crispy zucchini chips are delicious on their own, but they can also be paired with a zesty yogurt dip, served alongside roasted meats, or as a topping on salads for that extra crunch! Think of them as your new go-to side for any casual gathering or picnic.
Storage & Leftovers Guide
To preserve the crunch, store your zucchini chips in an airtight container at room temperature for up to 3 days. If they lose their crispiness, a quick trip back into the oven can revive them!
Kitchen Wisdom & Success Tips
- Cut Uniformly: Uniform thickness ensures even cooking, so take your time slicing.
- Experiment with Flavors: Don’t be afraid to change up the spices or add nutritional yeast for a cheesy flavor without the dairy!
- Watch Closely: Each oven behaves differently—start checking your chips at the 90-minute mark to prevent overbaking.
Flavor Variations & Adaptations
Feeling adventurous? Try different seasonings like cayenne for some spice, or ranch seasoning for a flavorful twist. You can even use a sprinkle of fine herbs for a Mediterranean flair!
Reader Questions & Solutions
-
Why are my chips soft?
- Ensure your zucchini slices are thin and well drained. The longer baking time at a low temperature helps in achieving that crunch.
-
Can I use different vegetables?
- Absolutely! Sweet potatoes or carrots can also be sliced thin and made into chips.
-
What if I don’t have parchment paper?
- You can use a lightly greased baking sheet, but parchment keeps them from sticking and makes cleanup easier.
-
How do I make them spicier?
- Add a dash of cayenne or chili powder to your seasoning mix for an addictive kick!
-
Can I bake them in an air fryer?
- Yes! Cook in the air fryer at 350°F for about 15-20 minutes, shaking halfway through.
Wrapping Up
So there you have it! A simple recipe that not only gives you crispy zucchini chips but also allows you to embrace the art of baking while experimenting with flavors. Each bite reminds you that healthier eating can still be exciting and delicious. So gather your ingredients, turn on some music, and enjoy the experience of creating something that’s not just tasty, but also nourishing. Happy cooking!
Print
Crispy Zucchini Chips
- Total Time: 135 minutes
- Yield: 4 servings 1x
- Diet: Vegetarian
Description
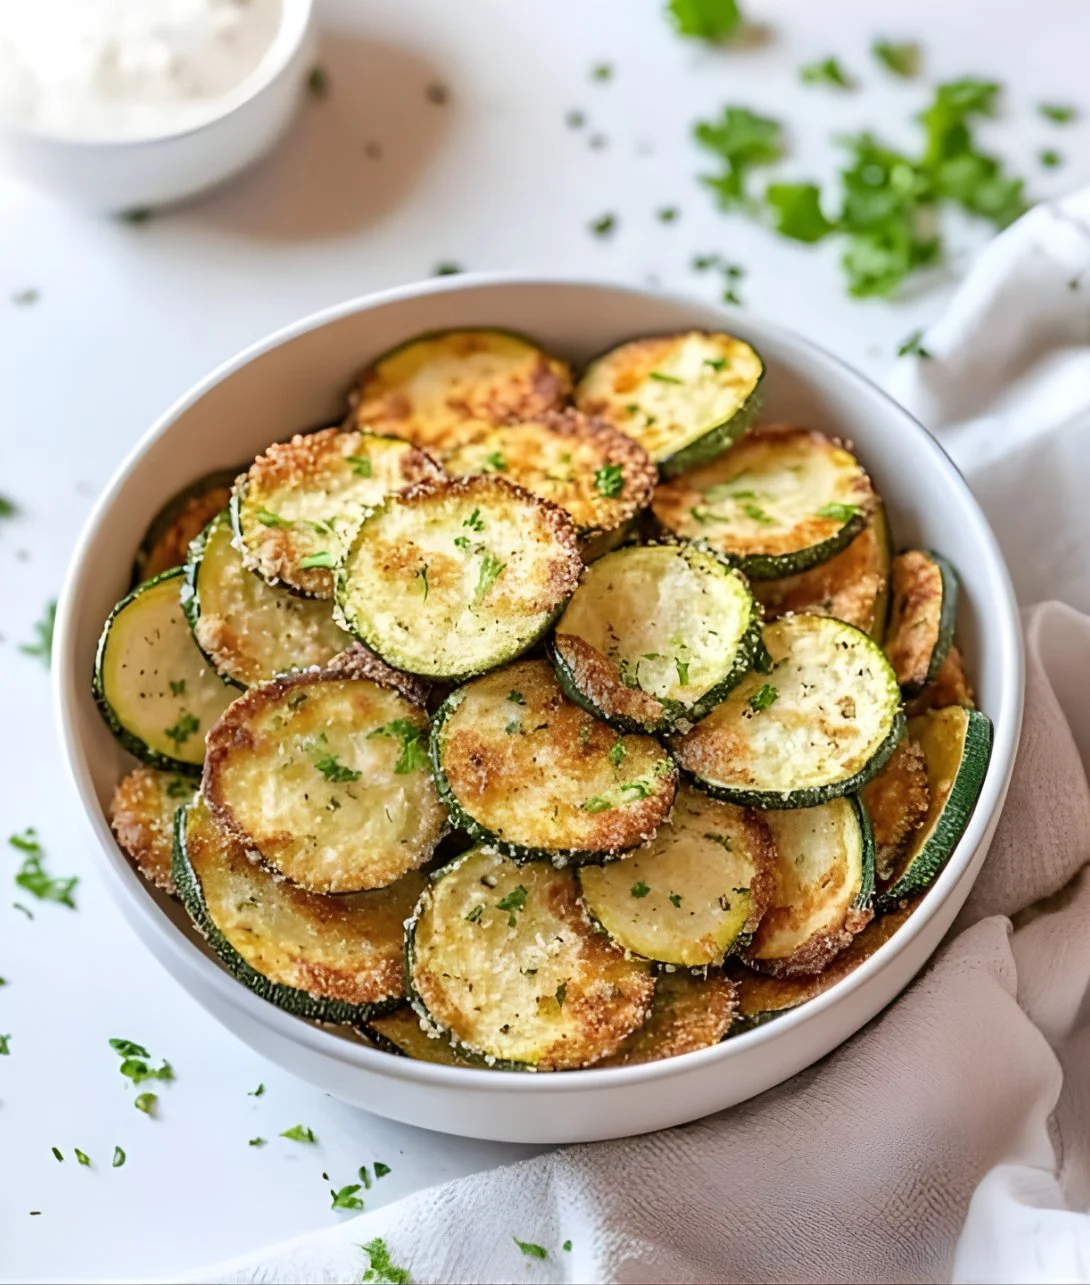
Delightfully crunchy and golden-brown zucchini chips, perfect for snacking or as a healthy side dish.
Ingredients
- 2 medium zucchinis
- 1 to 2 tablespoons of olive oil or avocado oil
- 1/2 teaspoon of sea salt
- 1/2 teaspoon of garlic powder
- 1/2 teaspoon of smoked paprika (optional)
- 1/4 teaspoon of black pepper
- Grated parmesan (optional)
Instructions
- Preheat your oven to 250 degrees F (120 degrees C).
- Wash and dry zucchinis thoroughly. Slice into thin rounds, aiming for about 1/8-inch thickness.
- Lay the slices on a paper towel, sprinkle lightly with salt, and let them sit for 10 minutes.
- Pat the zucchini slices dry with another paper towel to remove excess moisture and salt.
- In a large bowl, toss zucchini slices with olive oil until well coated. Add the garlic powder, smoked paprika, black pepper, and optionally, grated parmesan. Mix well!
- Line a baking sheet with parchment paper and arrange your zucchini slices in a single layer.
- Bake for about 1.5 to 2 hours, flipping halfway through to ensure even cooking.
- Remove from the oven and let the chips cool for 5 minutes.
Notes
For extra crunch, store in an airtight container; they stay fresh for up to 3 days.
- Prep Time: 15 minutes
- Cook Time: 120 minutes
- Category: Snack
- Method: Baking
- Cuisine: American
Nutrition
- Serving Size: 1 serving
- Calories: 100
- Sugar: 2g
- Sodium: 200mg
- Fat: 5g
- Saturated Fat: 1g
- Unsaturated Fat: 4g
- Trans Fat: 0g
- Carbohydrates: 12g
- Fiber: 2g
- Protein: 3g
- Cholesterol: 0mg