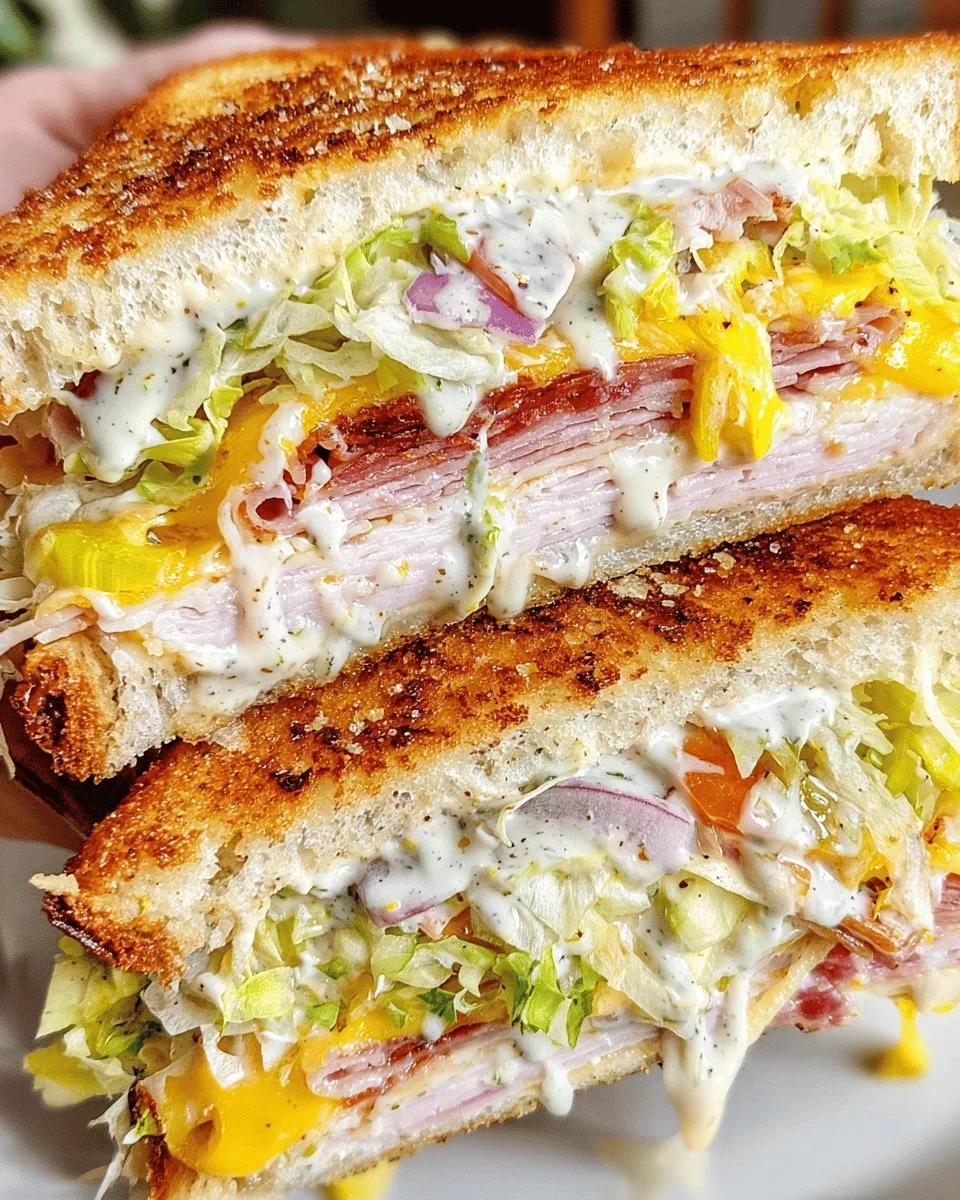
There’s something undeniably comforting about a perfectly grilled cheese sandwich. For many of us, this simple dish isn’t just food; it’s a nostalgic journey back to sun-soaked childhood afternoons, the warm embrace of home, and the joy of savoring gooey cheese melting between buttery, golden bread. Picture it: you’re at the kitchen counter, a warm skillet sizzling away, the aroma of toasting bread dancing in the air. That’s what the Viral Grinder Grilled Cheese Sandwich promises: a delightful homage to simplicity, with endless possibilities for delicious additions.
This isn’t just any grilled cheese; it’s an invitation to get creative! Want to elevate your sandwich game? Toss in a few crispy slices of bacon, a fresh tomato, or creamy avocado. Each bite is a canvas waiting for your unique touch. Let’s dive into this comforting classic and transform it into an unforgettable culinary experience!
Recipe Timing
- Prep Duration: 5 minutes
- Active Cooking: 10 minutes
- Total Duration: 15 minutes
- Portion Size: 1 sandwich
- Complexity: Simple
Nutritional Recipe
- Calories per portion: Approximately 400 kcal
- Protein: 12 grams
- Carbs: 36 grams
- Fats: 24 grams
- Fiber: 2 grams
- Sugars: 1 gram
- Sodium: 600 mg
Why You’ll Love This Viral Grinder Grilled Cheese Sandwich
The Viral Grinder Grilled Cheese Sandwich resonates with anyone who cherishes comfort food. It’s fast, easy to make, and utterly adaptable! Whether you’re a busy professional seeking a quick lunch or a parent looking to whip up something special for your little ones, this grilled cheese is your go-to solution. Plus, who can resist the satisfying crunch of a perfectly grilled sandwich followed by the irresistible stretch of melted cheese? You’re not just making a meal; you’re crafting a moment worth sharing.
The Complete Cooking Journey
Cooking this sandwich is easier than you may think. You’ll start by simply buttering your bread, letting the skillet warm up, and layering in your ingredients. Let your creativity lead the way as you make this sandwich uniquely yours. Soon enough, you’ll be devouring a crispy, cheesy masterpiece!
Ingredients:
- 2 slices of bread
- 2 slices of cheese (cheddar, American, or your choice)
- Butter (for spreading)
- Optional: add-ins like tomatoes, bacon, or avocado
Method:
Step 1: Heat the Skillet
Begin by heating a skillet over medium heat. You want that perfect balance—hot enough to brown the bread but not so hot that it burns.
Step 2: Butter the Bread
Generously butter one side of each slice of bread. This is what will give you that delicious golden crust we all crave.
Step 3: Place the First Slice in the Skillet
Lay one slice of bread in the skillet with the butter-side facing down. Listen for that delightful sizzle; it’s a sign of magic happening.
Step 4: Add the Cheese
Place your chosen cheese on top of the bread in the skillet. Feel free to mix different types for more depth of flavor!
Step 5: Assemble the Second Slice
Take the second slice of bread and place it on top of the cheese with the butter-side facing up.
Step 6: Grill to Perfection
Grill until the first side is golden brown, which usually takes about 3-4 minutes. Carefully flip the sandwich and grill the second side until the cheese is melty and oozy.
Step 7: Customize Your Creation
Before you grill the second side, consider adding your preferred extras like crispy bacon, ripe tomatoes, or creamy avocado. These will enhance the flavor and take your grilled cheese to the next level.
Step 8: Slice and Serve Hot
Once both sides are perfectly golden and delicious, slice your sandwich in half and serve hot. Enjoy the gooey goodness!
Serving Suggestions & Pairings
This grilled cheese pairs beautifully with a warm bowl of tomato soup or a fresh side salad. For a tangy twist, try it alongside a pickle or some spicy jalapeños. The options are endless!
Storage & Leftovers Guide
It’s best to enjoy your grilled cheese immediately for optimal taste and texture. However, if you have leftovers, wrap them tightly in foil or parchment paper and store them in the refrigerator for up to 2 days. Reheat in a skillet for the best results, avoiding the microwave if you want to retain that crispy exterior.
Kitchen Wisdom & Success Tips
- Tip: Don’t rush the grilling process; cooking on medium heat helps to achieve that perfect golden brown without burning the bread.
- Add Cheese Variety: Experiment with different cheese blends such as gouda, provolone, or pepper jack for added excitement.
- Patience is Key: Letting the cheese melt fully enhances the overall taste experience.
Flavor Variations & Adaptations
Feeling adventurous? Here are a few suggestions to mix things up:
- Mediterranean Style: Add feta cheese, olives, and sun-dried tomatoes.
- Spicy Kick: Incorporate spicy pepper jack cheese or add sliced jalapeños.
- Sweet and Savory: Try adding a layer of fig jam or apple slices for a sweet contrast.
Reader Questions & Solutions
- Why isn’t my cheese melting?
- Ensure your skillet isn’t too hot; low and slow is the name of the game.
- Can I use non-butter spreads?
- Yes! Margarine or olive oil can work, but they won’t provide the same delicious flavor.
- What bread is best for grilled cheese?
- Classic white, sourdough, or whole grain all produce great results. Choose what you love!
- How do I keep my sandwich from getting soggy?
- Use a dryer bread and pat any moist ingredients like tomatoes dry.
- Can I make this ahead of time?
- It’s best made fresh, but you can prepare ingredients ahead to save time.
Wrapping Up
The Viral Grinder Grilled Cheese Sandwich is more than just a meal; it’s a celebration of comfort and creativity in the kitchen. With its simple elements and endless possibilities, you can make a cozy experience your own with just a few enjoyable tweaks. So grab your ingredients, heat up that skillet, and let your taste buds dance with joy. Happy cooking!